Hello
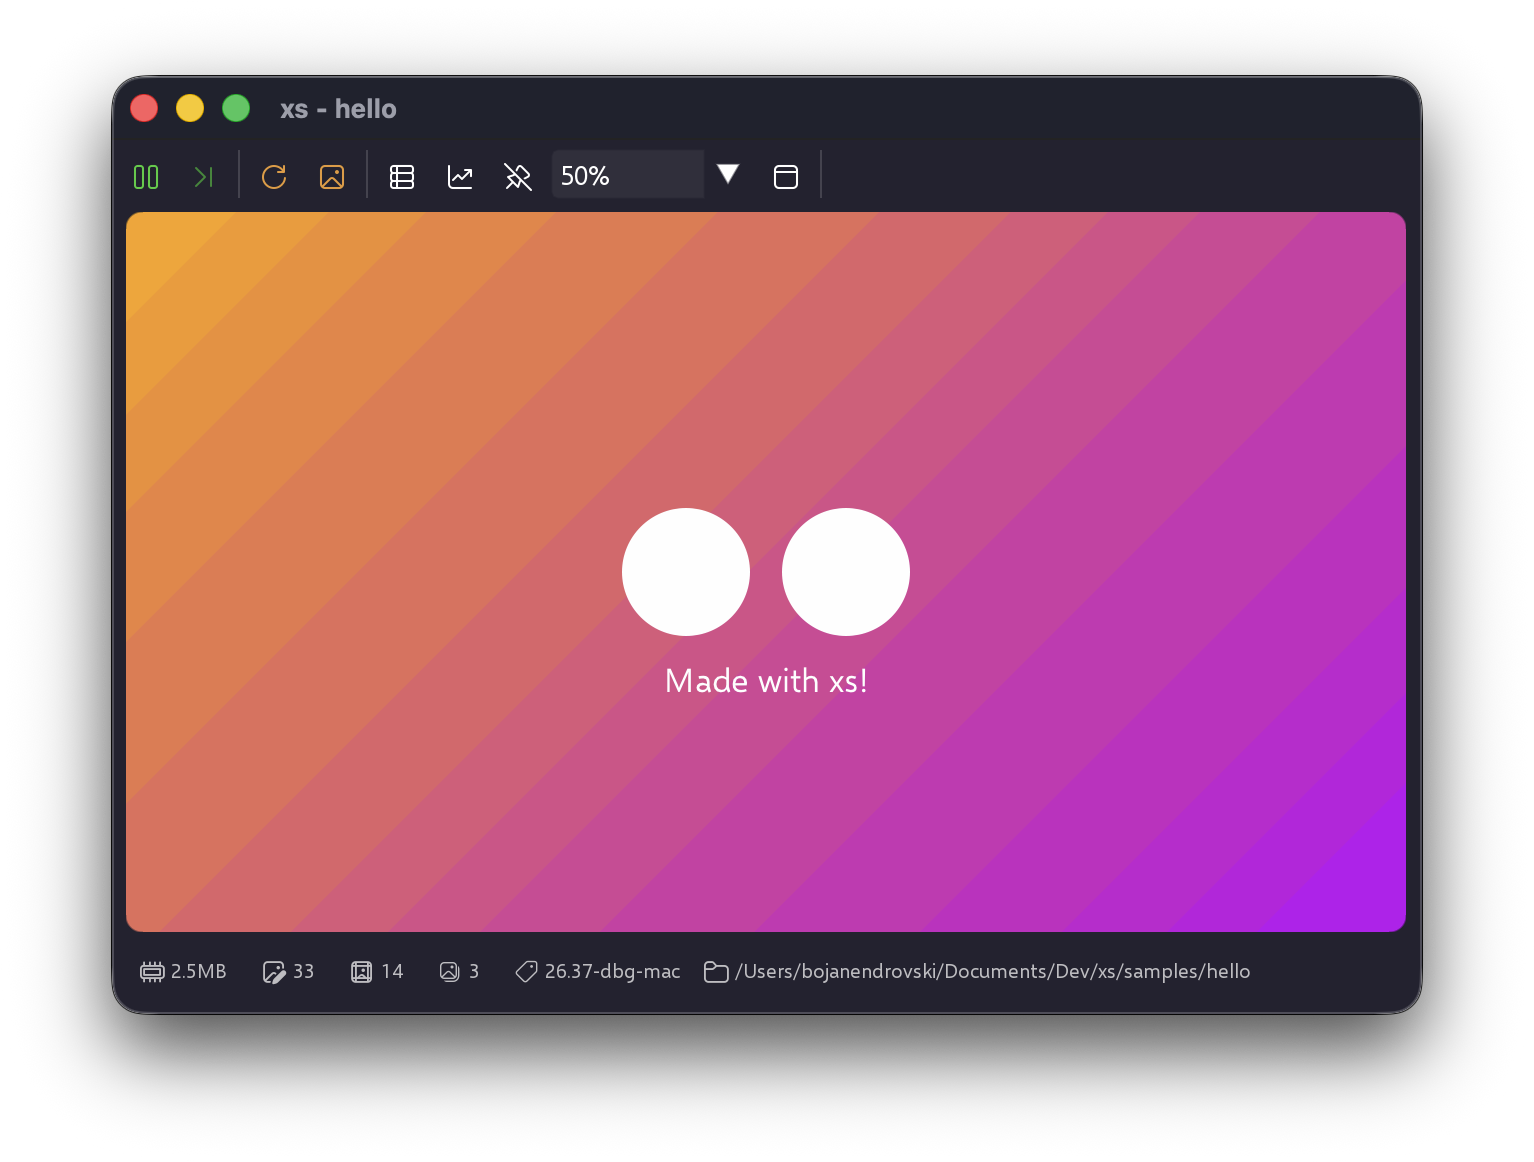
Animated gradient, sprite, and font demo that introduces how to render sprites, text, and use UI-driven color tweaks.
Welcome to xs! This guide will help you create your first extra small game. It will also explain the basics of the engine and how to use it.
First, grab the latest version of xs from the itch.io page or you can build it from source. There is not installer for xs yet, so just unzip the archive in your desired location.
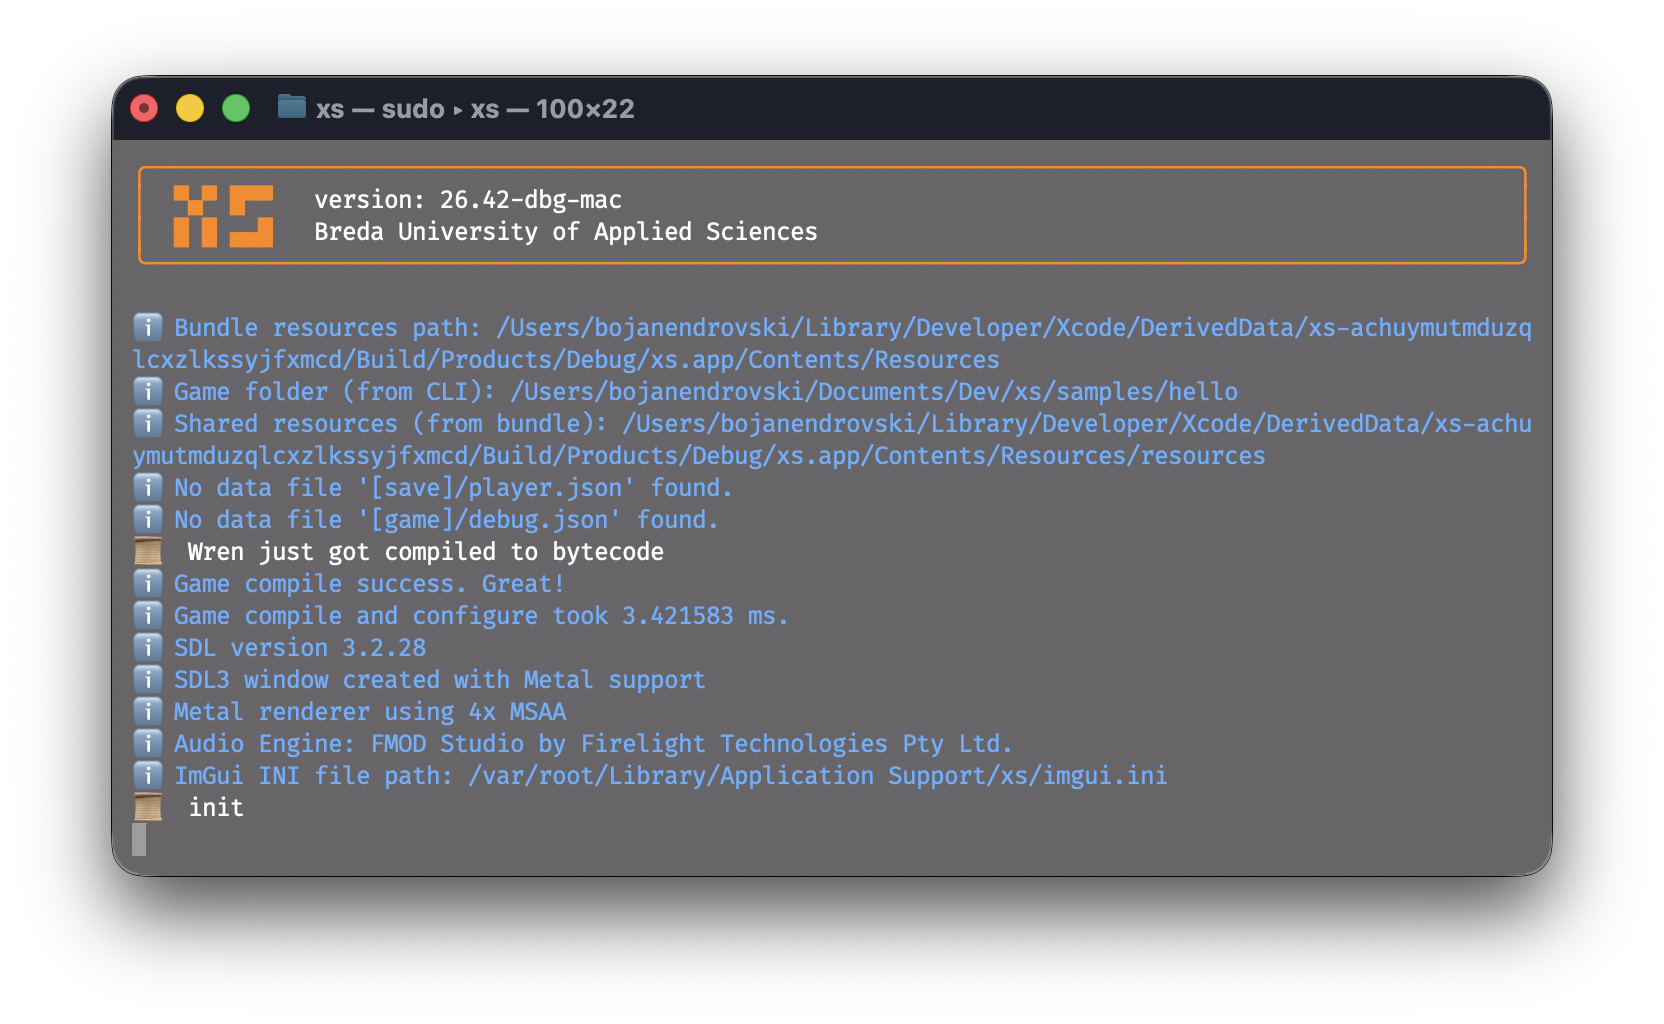
The preferred way of running xs is from the command line (terminal), so you can provide commands to it and read the debug output. Open your command line/terminal application and cd to the xs folder. Run the executable by providing run command and a path to a game folder. For example: xs.exe run samples/hello on Windows or ./xs run samples/hello on macOS. You should get output in the command line. Even better, use Visual Studio Code with the built-in terminal.
The "hello" sample looks like the image below and should run without errors.
Great, xs is up and running!
xs is a code-first game engine, so using a code editor with good Wren support helps a lot. The xs Visual Studio Code extension provides integrated development features such launch commands/buttons, an animation editor, a package inspector and launch templates to enhance your game development experience.
Creating a new project in xs is quite simple. An xs project is just a folder, with a project.json file in it that contains the project settings, most important one being the path to the game code in the Main field. Your main class file should be a Wren file located in the same folder or a subfolder.
The project.json file inside every project folder now holds the runtime data (including window size, fullscreen, and whether xs floats above other windows).
The Game class needs to have three static methods:
initialize - Called as soon as all systems have been createdupdate - Called once per tick (frame)render - Called once per tick, right after updateThis is the a minimal example:
import "xs" for Render, Data
class Game {
    static initialize() { /* Initialize your game state here */ }
    static update(dt) { /* Update your game state here */ }
    static render() { /* Render your game here */  }
}
Next, just put your awesome art and code in the folder and you have yourself a game!
Wren is a lovely modern scripting language and there are a handful of Visual Studio Code extensions to make working with it nicer.
If you don't have Visual Studio Code, download it here
A module in Wren is usually another .wren file that you can import into your code. xs ships with a few modules that let you interact with the engine:
xs/core - Core API for rendering, audio, input, and morexs/math - 2D vector math, colors, and bit operationsxs/ec - Simple Entity-Component frameworkxs/components - Pre-built components for common game functionalityThe "hello" example starts with importing functionality:
import "xs/core" for Render, DataThese modules are located in the assets/modules/ folder, so feel free to explore their contents.
From the language itself (learn more):
random - Random number generationmeta - Reflection and metadataPaths in xs are relative and should start with one of the [] wildcards. For example, you can use the [game] wildcard to access asset files in your game:
var image = Render.loadImage("[game]/images/cat.png")The engine pre-defines several wildcards so you can reach shared resources, save data, or the currently running game without hardcoding absolute directories. On desktop platforms you get:
[game] — the folder you launched with (CLI argument, settings, or default sample).[shared] — the engine's shared resources/ folder.[user] — the OS-specific user data directory (e.g., %APPDATA%\xs on Windows). Only available in the editor.[save] — a shorthand for the player's save folder (per game). It uses cloud saves on supported platforms.xs supports .png images and a variety of sound files, with .flac being the preferred format.
Explore the sample games included with xs to see practical examples of how to use the engine's features.
Animated gradient, sprite, and font demo that introduces how to render sprites, text, and use UI-driven color tweaks.
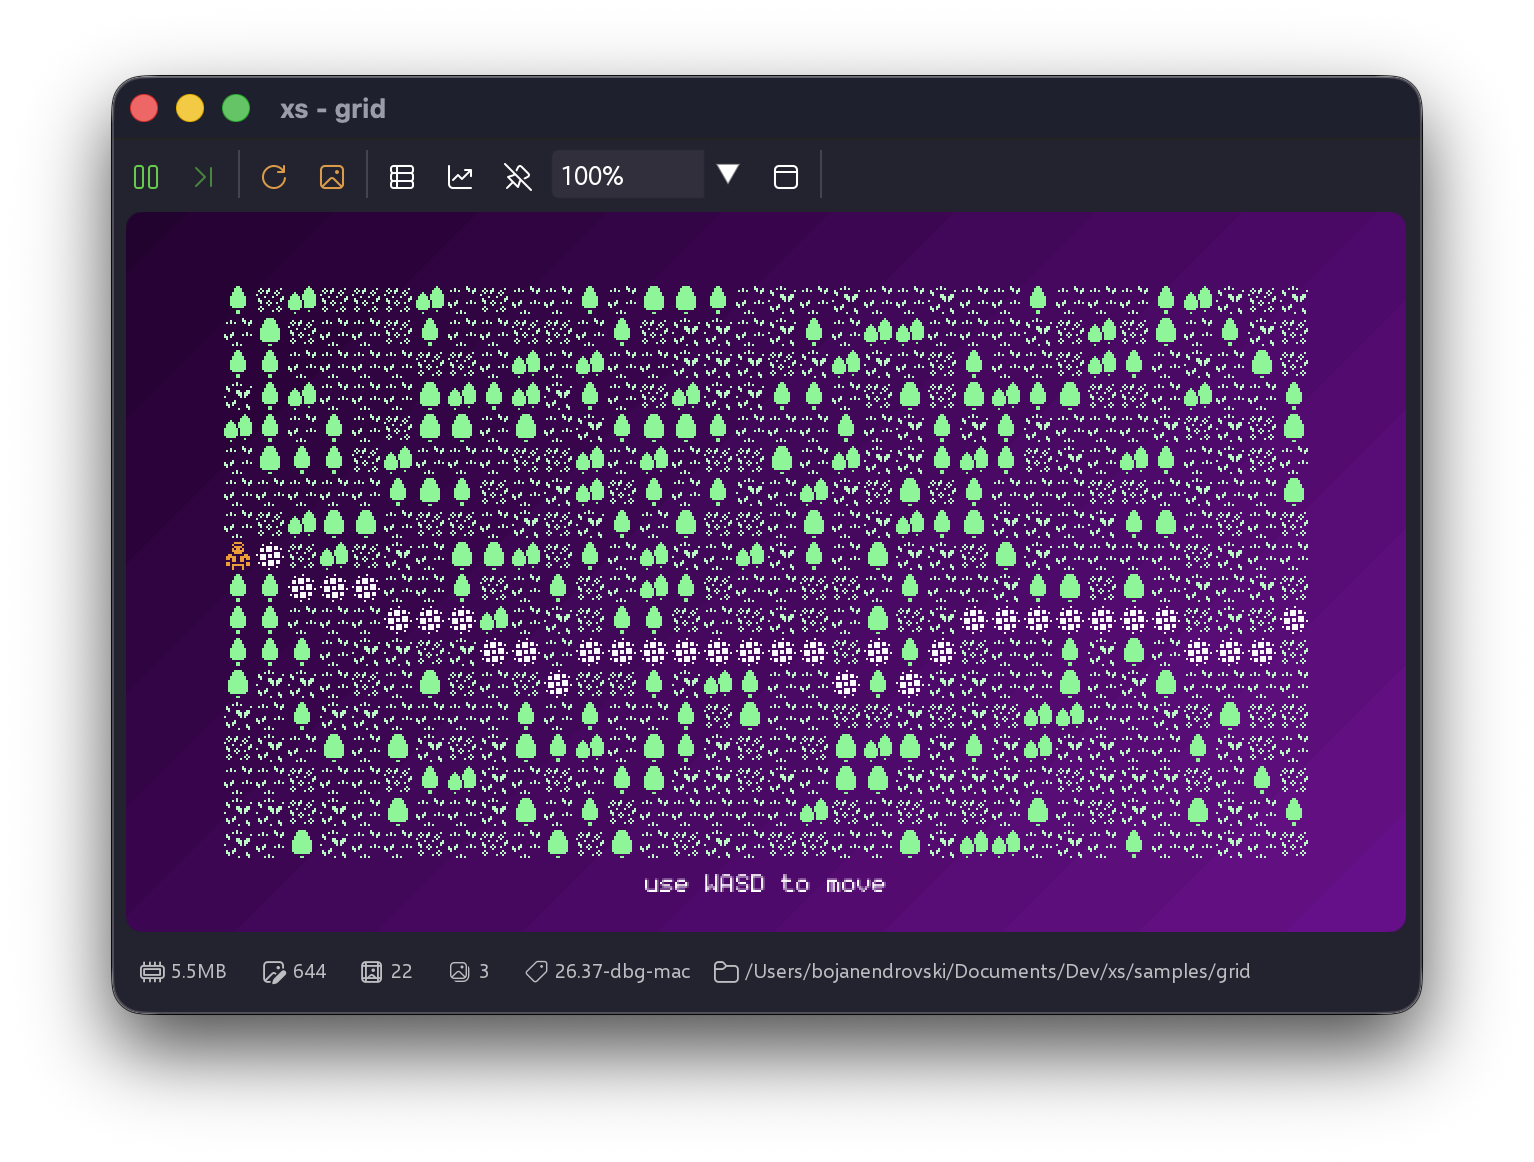
Tile-based sandbox with random terrain, roads, and a WASD player so you can feel how the grid world and input hooks work.
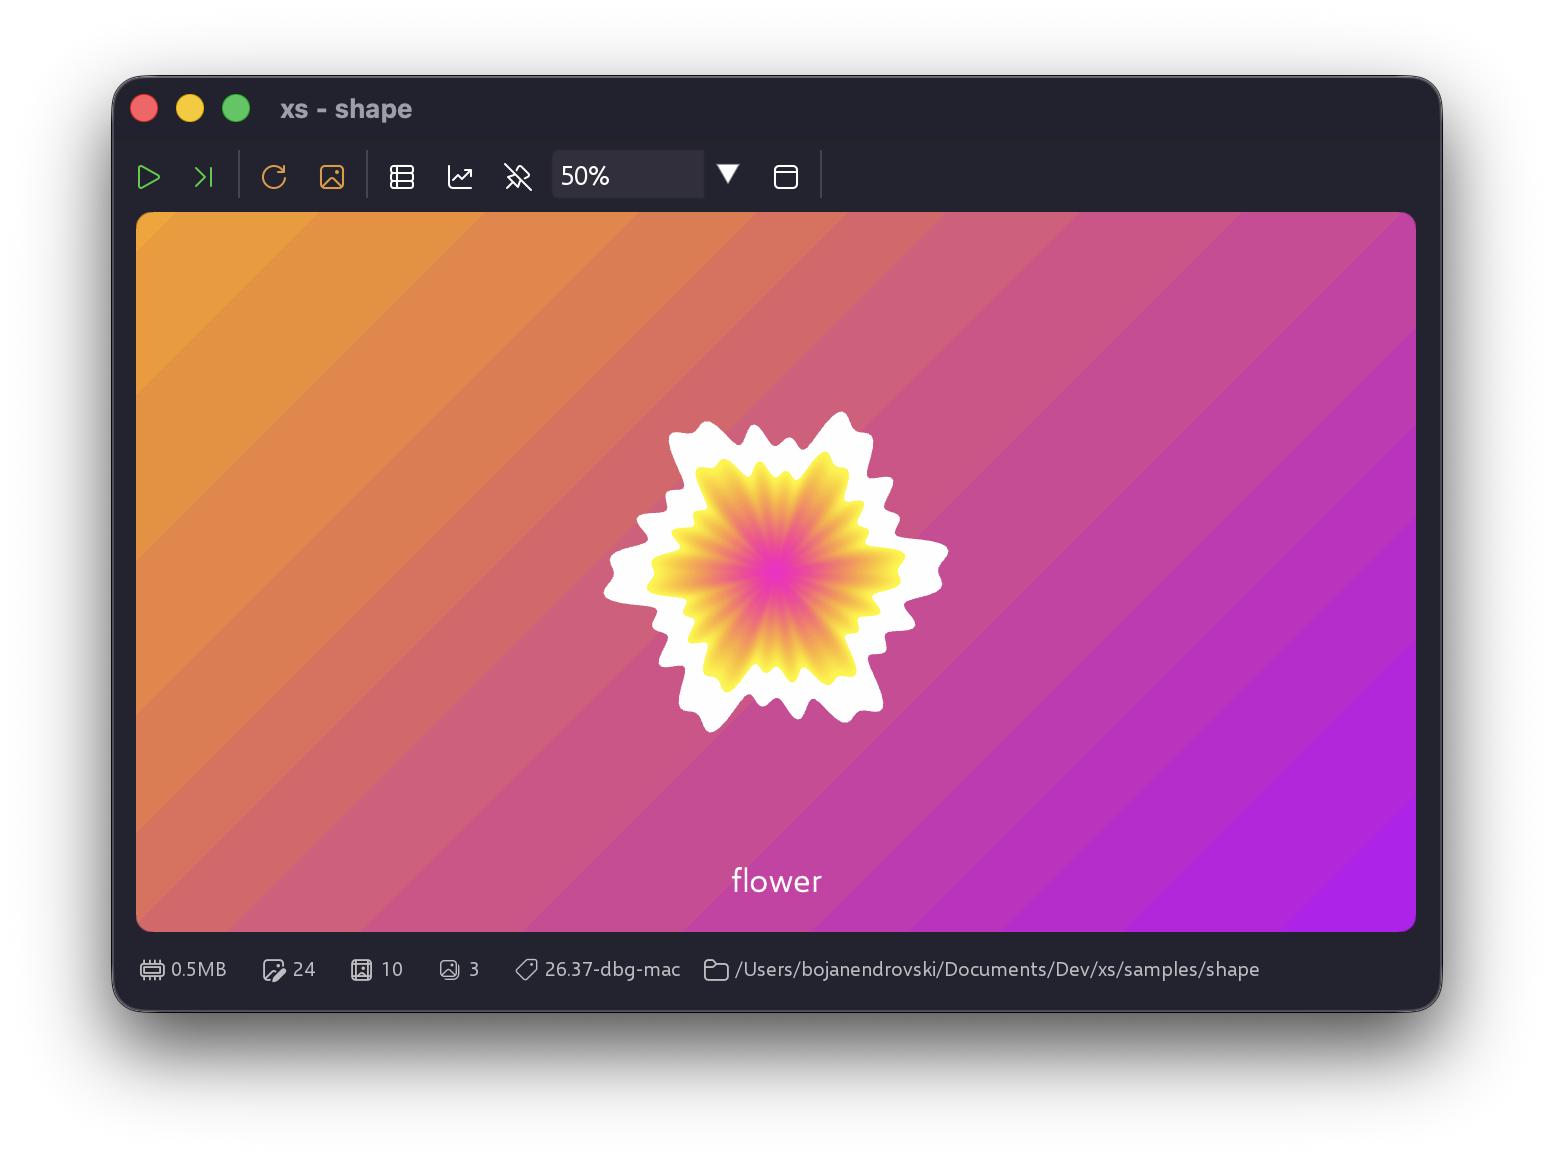
Procedural shape builder demo that morphs a flower/circle outline over time while rendering textured shapes.
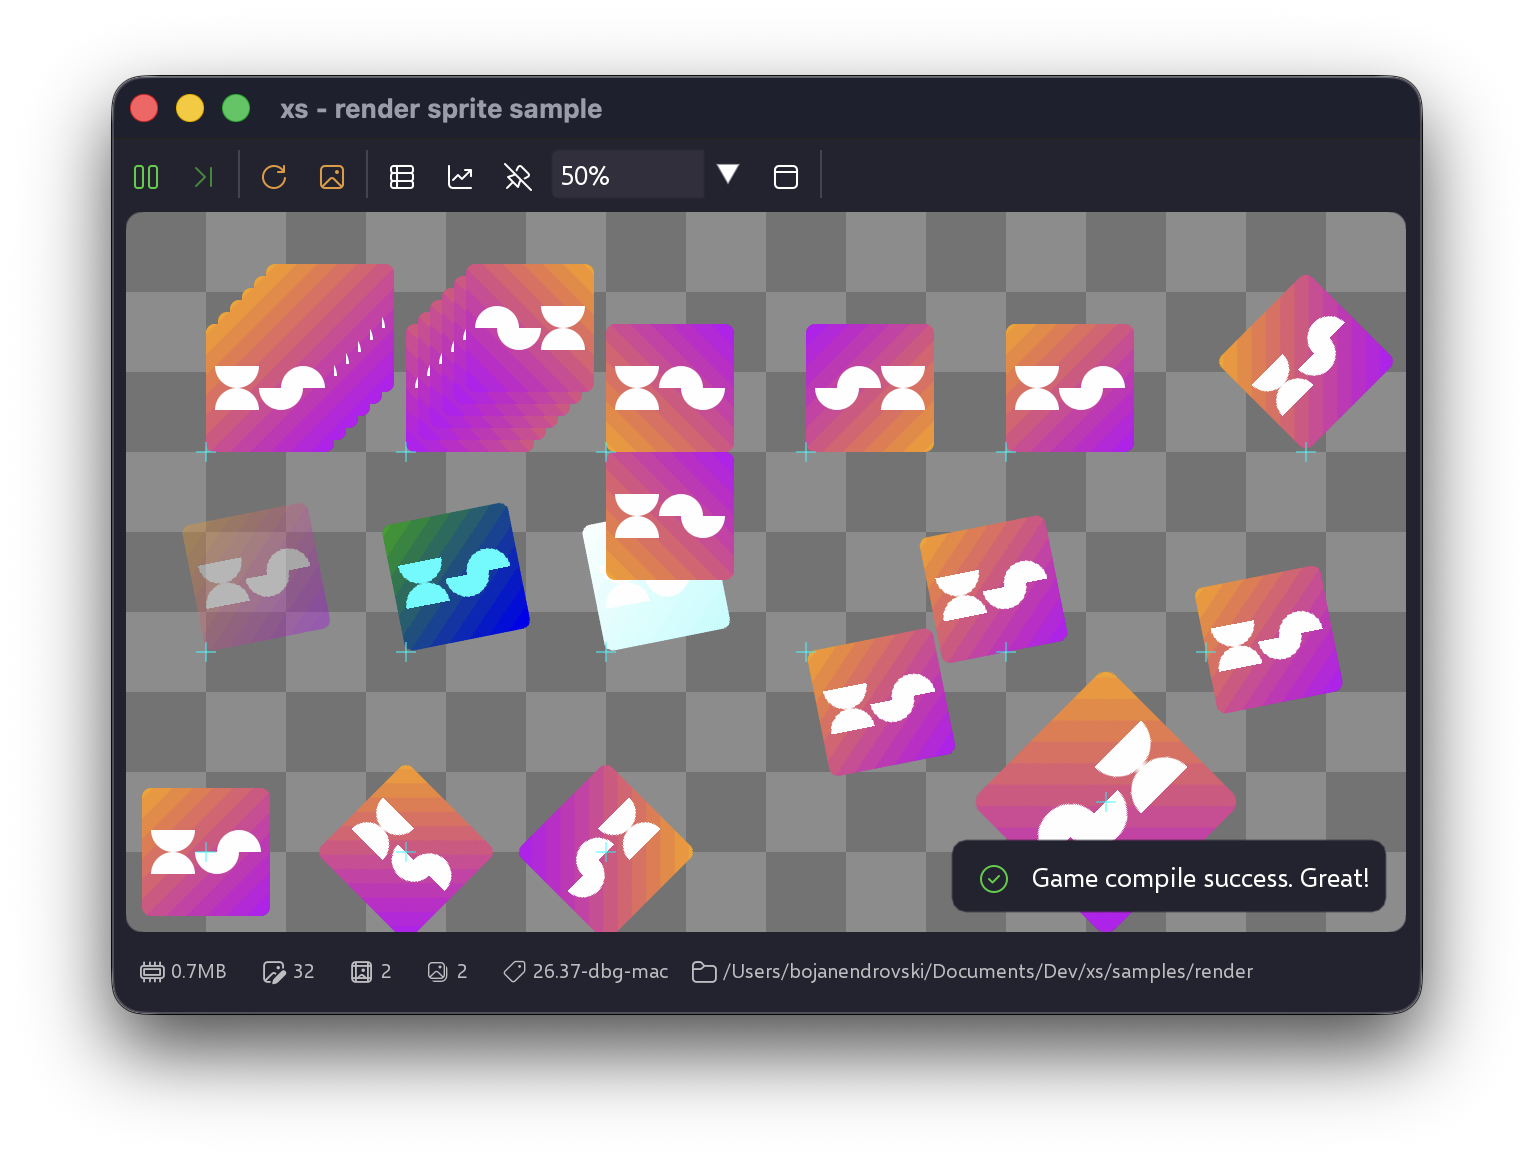
Sprite rendering showcase with flip flags, offsets, fullscreen toggles, and debug helpers so you can inspect every draw call.
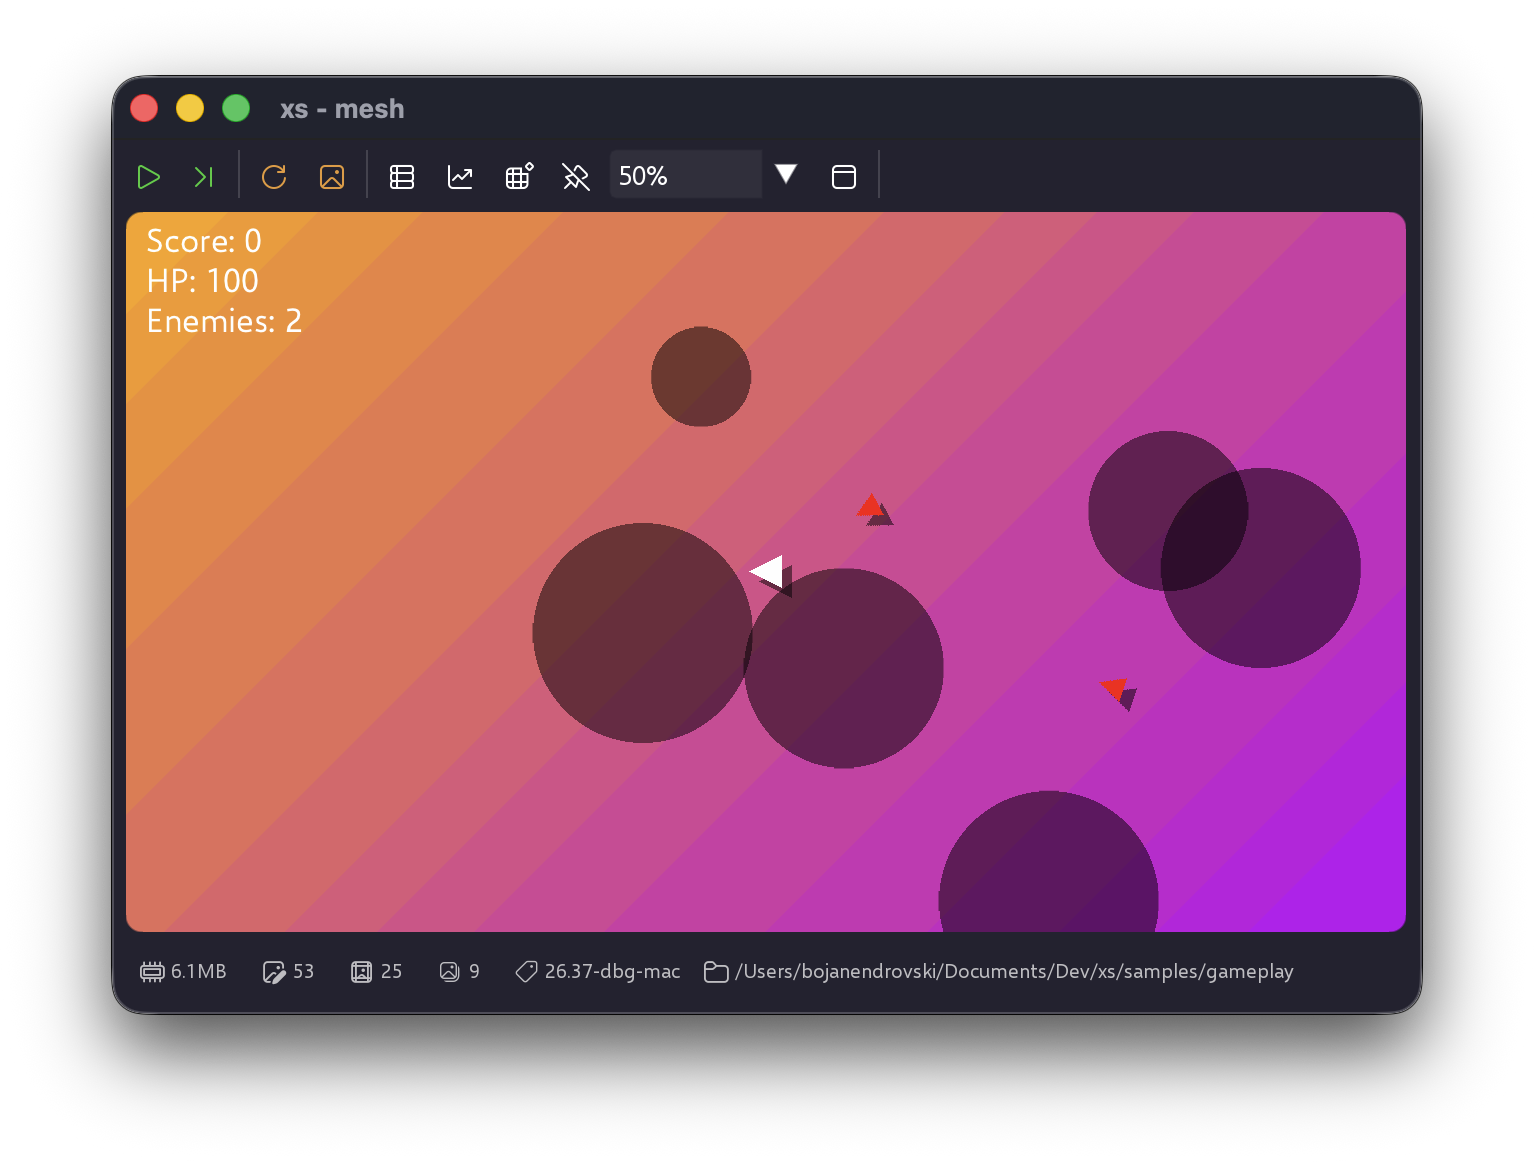
Survivors-style action sample with ECS-driven enemies, obstacle avoidance, auto-shooting bullets, and pickups [WIP].
Now that you're set up, check out the API Reference to learn about all the available modules and functions!
Check out the samples/ folder in your xs installation